Compressing and sending files as mail attachments
This section explains how to compress the Send file or Receive file at successful completion of file transfer in HULFT and then to send the compressed file as attached to email, using the template shown below.
- Script name:
-
File Compression and Attachment to Mail
- HULFT Script Trigger name:
-
HULFT Script Trigger Sample for Execution upon Successful Receiving
The procedure for setting the template in HULFT Script is shown below.
1. Preset required settings.
2. Load a script template and change its settings.
3. Load a trigger template and change its settings.
4. Check operation.
Presetting required settings
To use this template, file transfer settings (such as the file ID settings) must be defined in HULFT. Refer to HULFT Script HELP for details.
Loading script template and changing its settings
1. Load a script template to the project.
Load the script named 'File Compression and Attachment to Mail.'
For example, the project to which the script is to be loaded is named 'project.'
Refer to Loading a script template for detailed procedures.
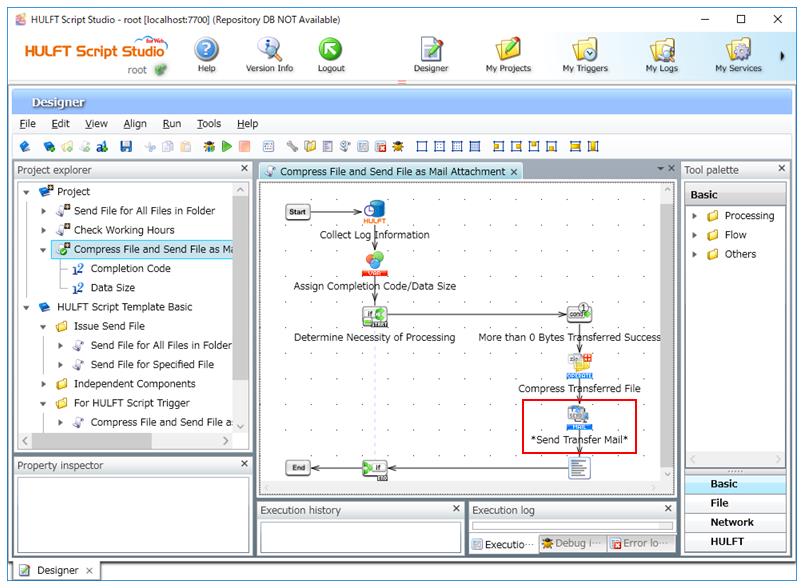
2. Change the settings for the *Send Mail component icon.
Double-click the *Send Mail component icon. Or, right-click the icon and click Properties in the pop-up menu.
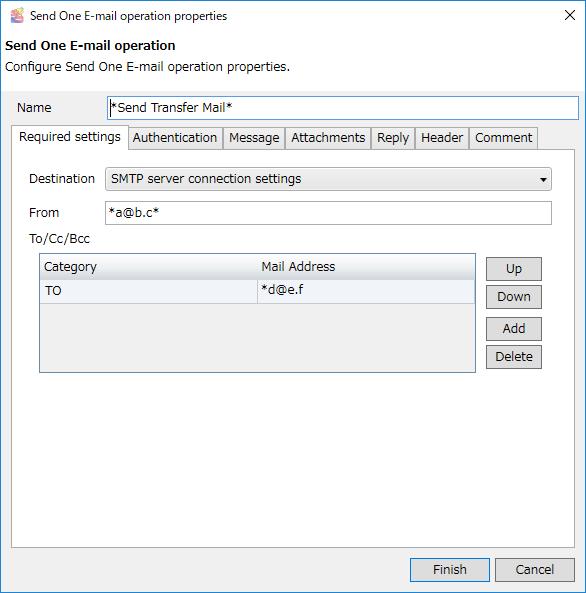
The New Send One E-mail operation dialog box appears.
3. Modify the property settings, and click Finish.
In the dialog box shown below, specify the email address to which the compressed file is to be sent.
4. In Script Canvas, check the processing flow from the Start component icon through the End component icon.
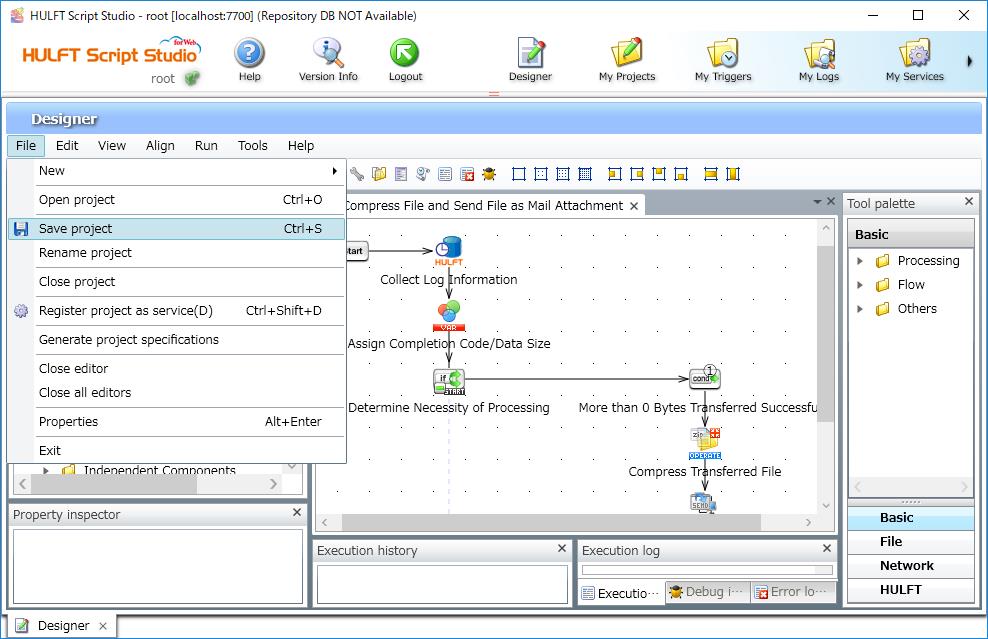
5. Save the created script by selecting File > Save project in Designer.
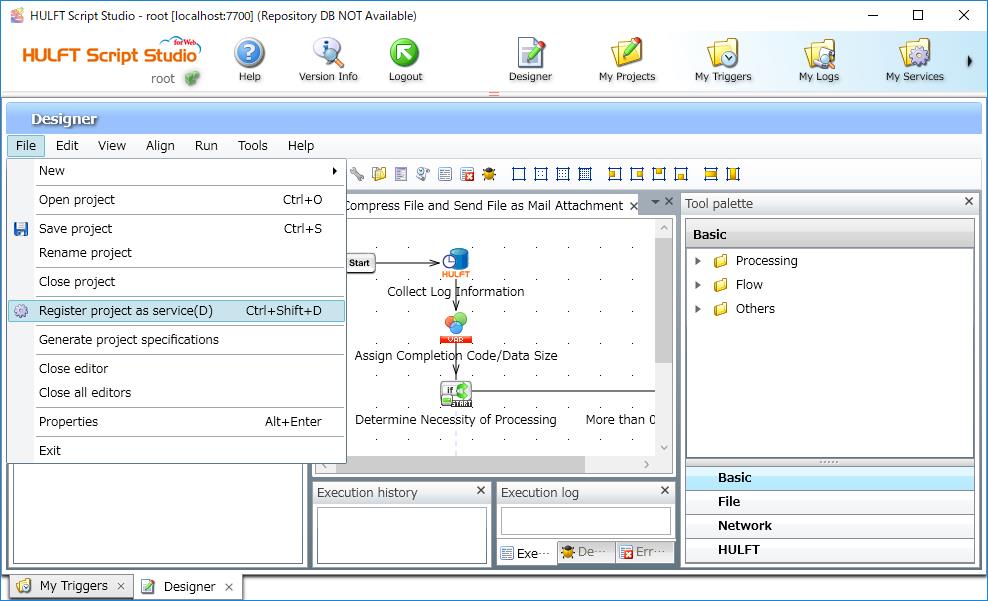
6. Register the created script as a service by selecting File > Register project as service in Designer.
This completes the procedure for setting the loaded script.
Loading trigger template and changing its settings
1. Load a trigger template to My Triggers.
Load the trigger named 'HULFT Script Trigger Sample for Execution upon Successful Receiving'.
Refer to Loading a trigger template for detailed procedures.
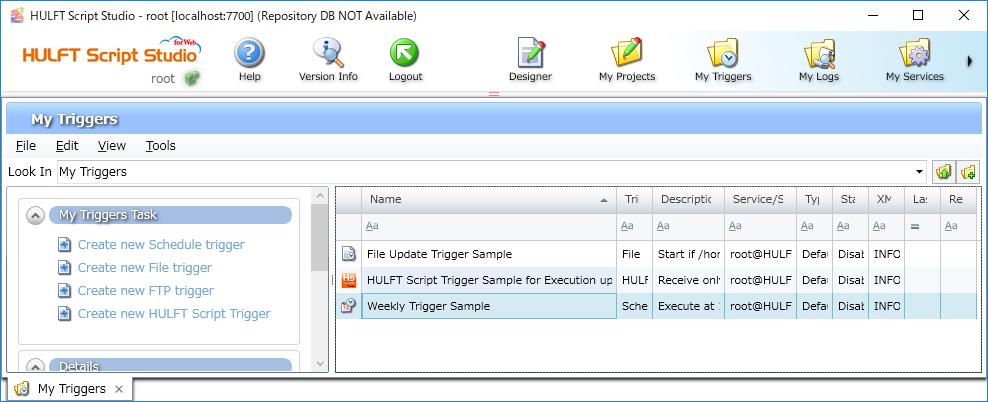
2. Double-click the loaded trigger.
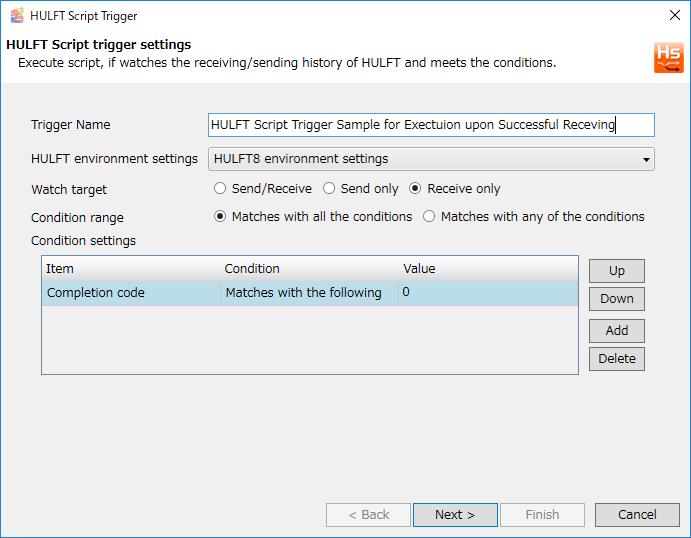
HULFT Script trigger settings dialog box appears.
3. In HULFT Script trigger settings dialog box, click Next. Refer to HULFT Script HELP for details on the setting fields for each trigger.
4. Set the fields in the Execution Settings. Specify the service and script that were created with Designer in advance.
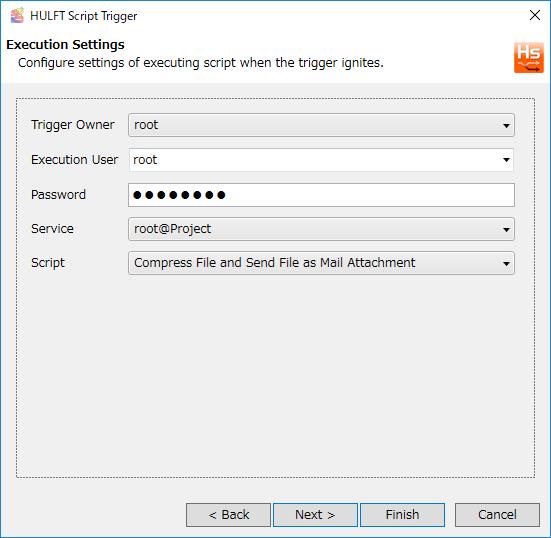
5. Click Finish.
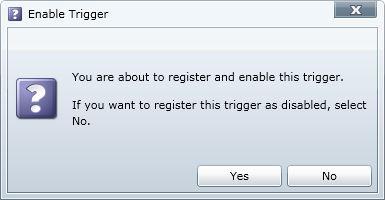
The Enable Trigger message appears.
6. To register the trigger as enabled, click Yes.
To register the trigger as disabled, click No.
This completes the procedure for setting the loaded trigger.
Checking operation
Check that the created HULFT Script trigger is enabled.
When the file transfer completes successfully, the received file is compressed and attached to email and the email is sent. Refer to the transfer log for the relevant file ID to check if file transfer completed successfully.