Send File for all files in a folder
This section explains how to transfer all files in a folder at the specified time using the template shown below.
- Script name:
-
Send File for All Files in Folder
- Schedule trigger name:
-
weekly trigger Sample
The procedure for setting the template in HULFT Script is shown below.
1. Preset required settings.
2. Load a script template and change its settings.
3. Load a trigger template and change its settings.
4. Check operation.
Presetting required settings
To use this template, the presets shown below are required. Refer to HULFT Script HELP for details.
-
HULFT that executes file transfer is defined in Control Panel > Global Resource Settings in HULFT Script Studio.
-
The file destination folder is mounted in Control Panel > Mount Settings in HULFT Script Studio so that the folder can be viewed from HULFT Script.
-
The following items of management information are defined to transfer files with HULFT so that the parameters can be specified dynamically:
-
Send Management Information
Configure the settings so that the Send file name can be specified dynamically.
-
Receive Management Information
Specify '$SNDFILE' for the Receive file name so that the Send file name can be used for the Receive file name.
-
Host Information and Transfer Group Information
Specify the details and the group of the host to which you want to carry out file transfer.
-
Loading script template and changing its settings
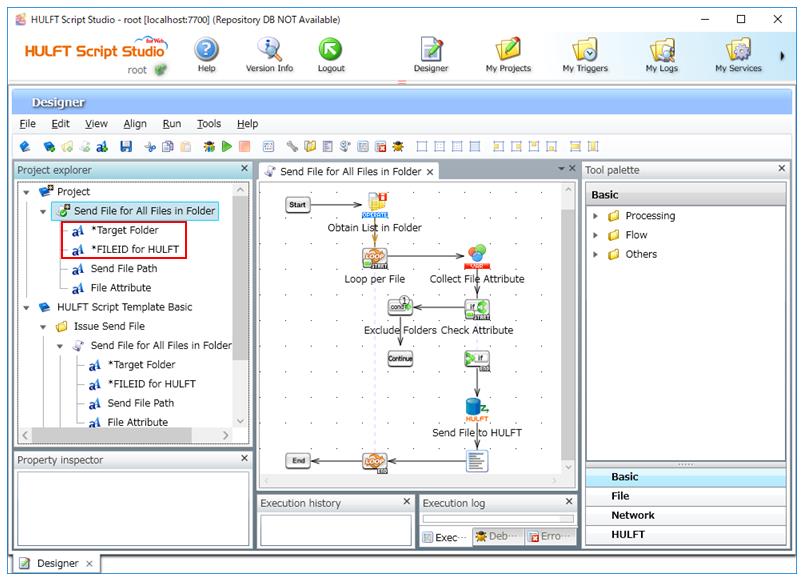
1. Load a script template to the project.
Load the script named 'Request for Transferring All Files in a Folder.' This script repeatedly issues Send File from HULFT Script to HULFT.
For example, the project to which the script is to be loaded is named 'project.'
Refer to Loading a script template for detailed procedures.
2. Change the property settings for the script variables '*Target Folder' and '*FILEID for HULFT.'
Double-click the component icon of the script variable you want to change the settings. Or, right-click the icon and click Properties in the pop-up menu.
The Properties dialog box for the script variable appears.
3. Modify the default values of the script variables, and click Finish.
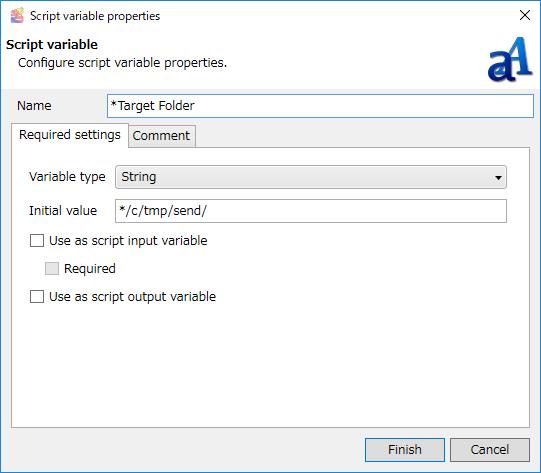
Specify the script variables as follows:
-
'*Target Folder'
Specify the folder in which the file to be sent with HULFT is stored. You must specify the folder that has been mounted for HULFT Script file system.
Send File is issued for all files in the specified folder, one file at a time.
-
'*FILEID for HULFT'
Specify the file ID of the file to be transferred.
4. In Script Canvas, check the processing flow from the Start component icon through the End component icon.
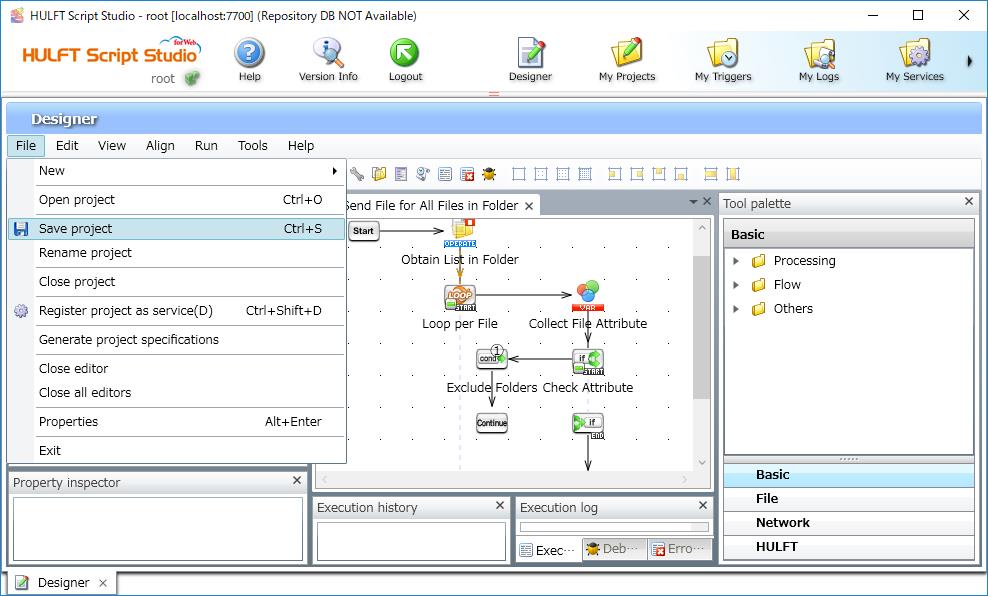
5. Save the created script by selecting File > Save project in Designer.
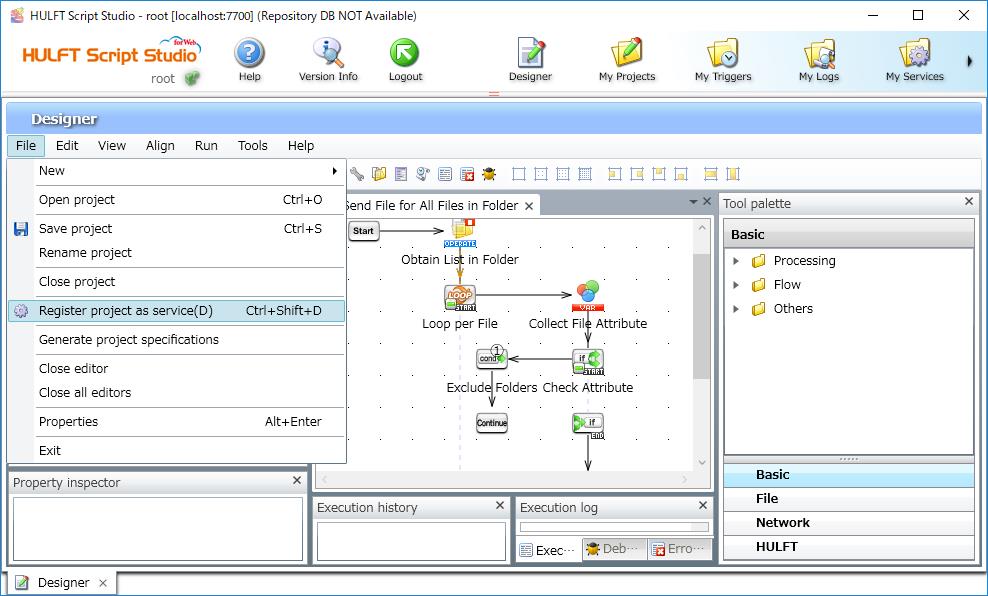
6. Register the created script as a service by selecting File > Register project as service in Designer.
This completes the procedure for setting the loaded script.
At this point, you can check actual script operations by clicking Run > Run in Designer.
When an error occurs, refer to HULFT Script HELP.
Loading trigger template and changing its settings
1. Load a trigger template to My Triggers.
Load the trigger named 'weekly trigger Sample.'
Refer to Loading a trigger template for detailed procedures.
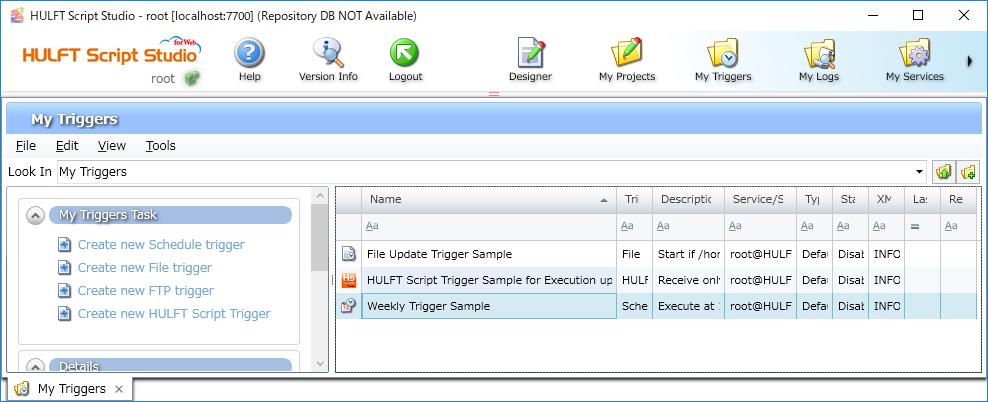
2. Double-click the copied trigger. A dialog box for the trigger appears.
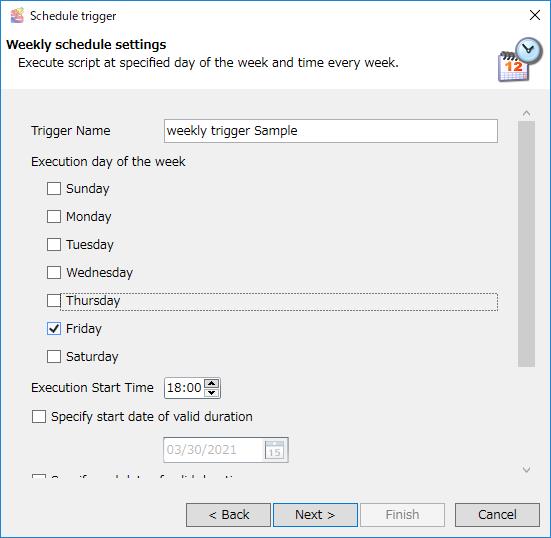
3. In the dialog box for the trigger, set the fields in the Weekly schedule settings, and click Next.
Refer to HULFT Script HELP for details on the setting fields for each trigger.
In the settings in the dialog box shown below, the script is scheduled to be run at 18:00 every Friday.
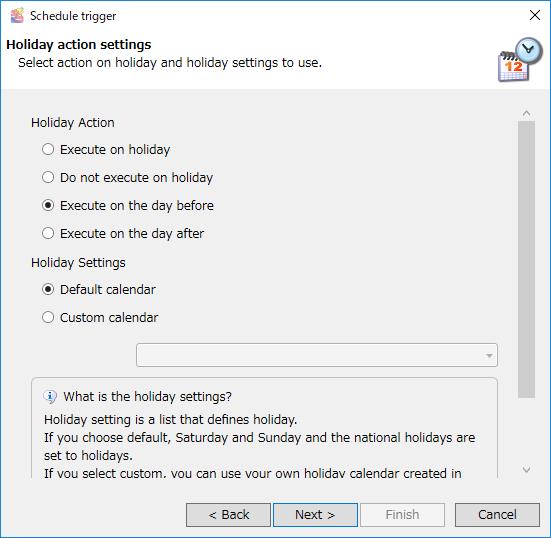
4. Set the fields in the Holiday action settings, and click Next.
In the settings in the dialog box shown below, the script is scheduled to be executed on the day before a holiday.
Set the fields in the Execution Settings. Specify the service and script that were created with Designer in advance.
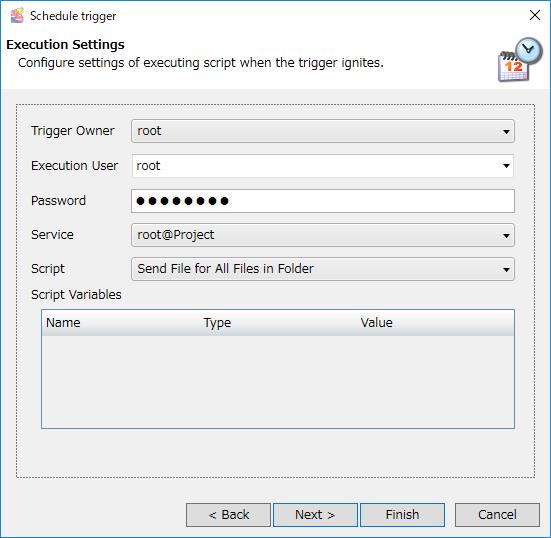
5. Click Finish.
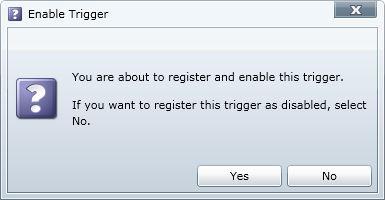
The Enable Trigger message appears.
6. To register the trigger as enabled, click Yes.
To register the trigger as disabled, click No.
This completes the procedure for setting the loaded trigger.
Checking operation
Check that the created trigger is enabled. Check that all files in the folder are transferred at the time specified with the trigger.
To check operation, change the trigger settings and adjust the time to run the script.
You can check the operation results as follows:
- Execution results of the script related to file transfer in HULFT:
-
HULFT Management Console and HULFT Manager Management Console
- Results related to HULFT Script operation:
-
My Logs in HULFT Script Studio