IP Filter Settings for Account
This section explains how to apply IP Filter to an account.
1. Select the IP Filter menu in Management Console.
The IP Filter screen is displayed.
2. Click 'New Creation' in the 'IP Filter Group' tab.
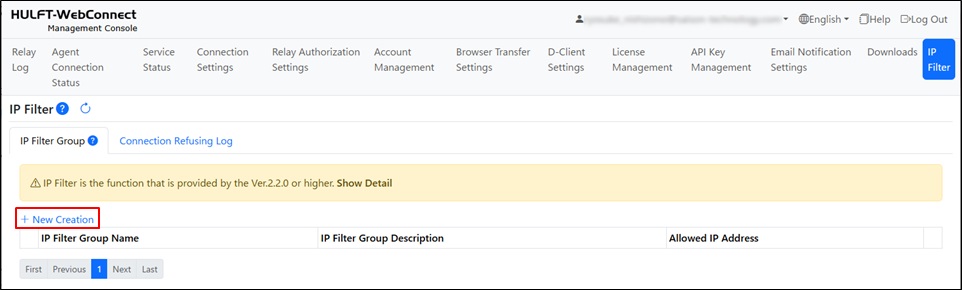
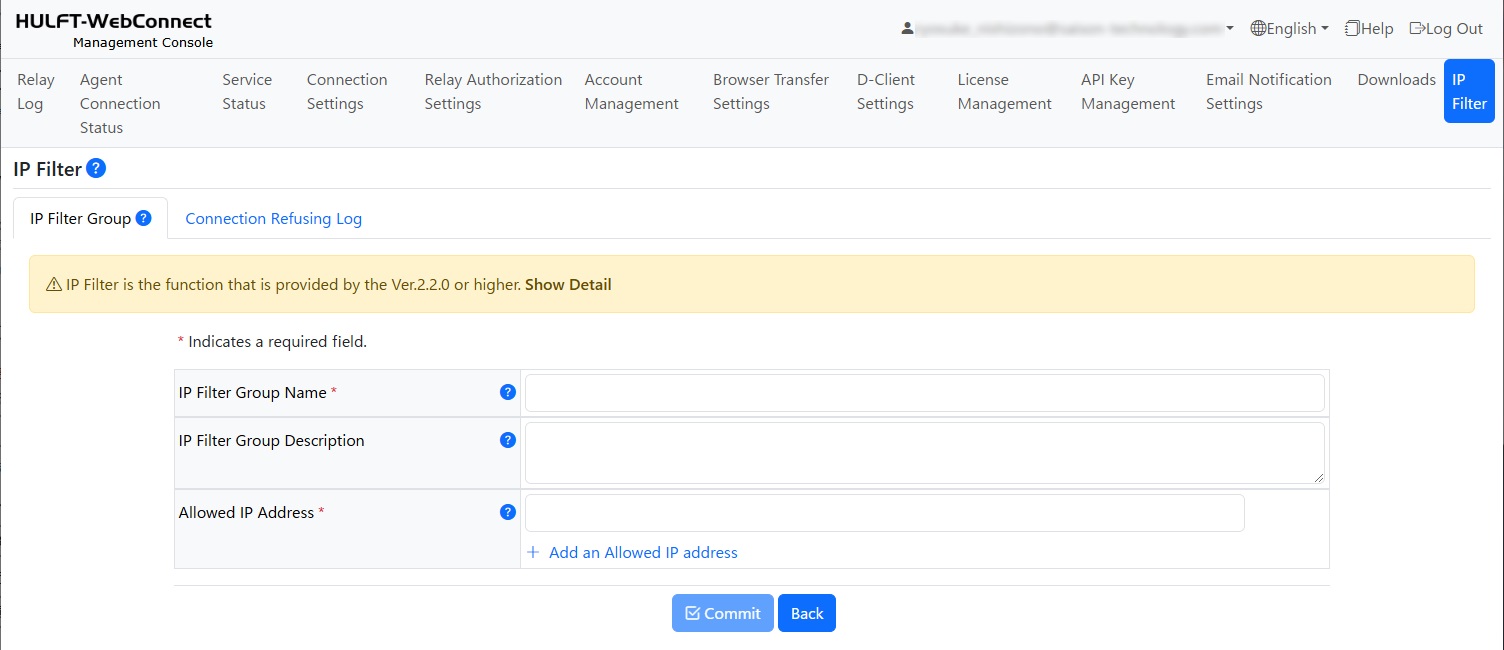
The IP Filter Group registration screen is displayed.
3. Input the IP Filter information.
For a description of the items to input, click  and refer to the help information.
5. Select the Account Management menu in Management Console.
The Account Management screen is displayed.
6. To set an IP filter group for an existing account, click  on the left most of the row of the account information that you want to set. To register a new account, click [New Creation].
The screen for account registration is displayed.
7. Specify the IP filter group registered in step 4. for 'IP Filter Group'.
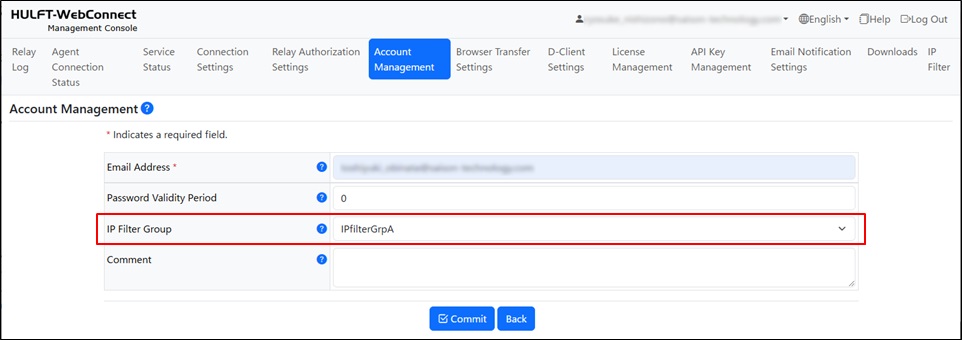
8. Click the [Commit] button.
The IP filter group is set to the account.