Installation procedure of DataMagic Manager
To install DataMagic Manager, run setup.exe contained in the provided media or downloaded module.
If you are using Windows, setup.exe is located in the Setup\Manager folder.
If you are using UNIX/Linux, setup.exe is located in the Manager folder.
(1) Select the language
Running setup.exe displays a screen for selecting the language. Select the language, and then click the Next button. The setup program is displayed in the selected language.
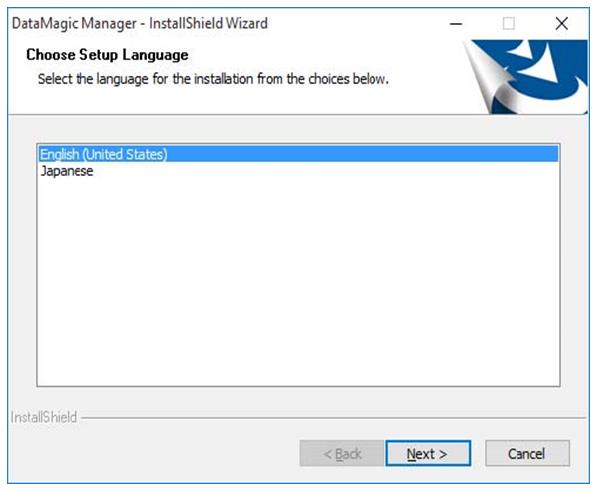
Figure 3.2 Choose Setup Language screen
-
The language selected in this dialog box is valid during the installation of DataMagic Manager, and for the display of DataMagic Manager.
-
After the installation finishes, you can change the language setting specified in this screen. When you change the language after installation, you must click the DataMagic Manager Operation settings button in the screen for managing hosts and then change the Language setting in the DataMagic Manager Operation settings screen.
-
In update installation, the language that you select in this screen overrides the language used prior to installation.
(2) Start the setup program
When the setup program starts, the following screen is displayed. Click the Next button.
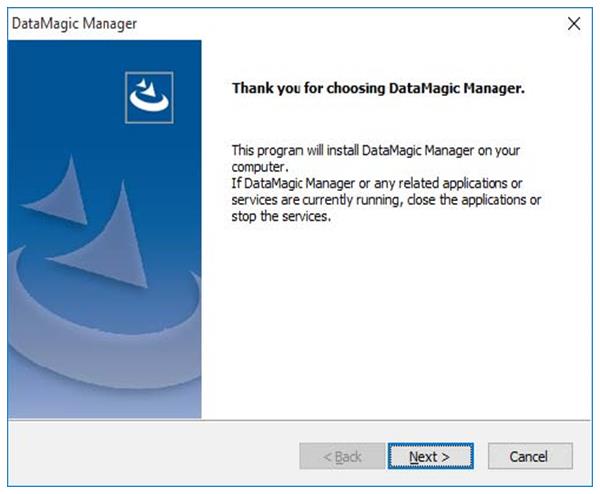
Figure 3.3 Start screen of the setup program
(3) About the license agreement
The DataMagic license agreement is displayed. Read the license agreement, and if you agree to the terms, select I accept the terms of the license agreement and then click the Next button.
- If you click the Next button:
-
The DataMagic installation procedure continues.
- If you click the Cancel button:
-
The DataMagic installation procedure is canceled.
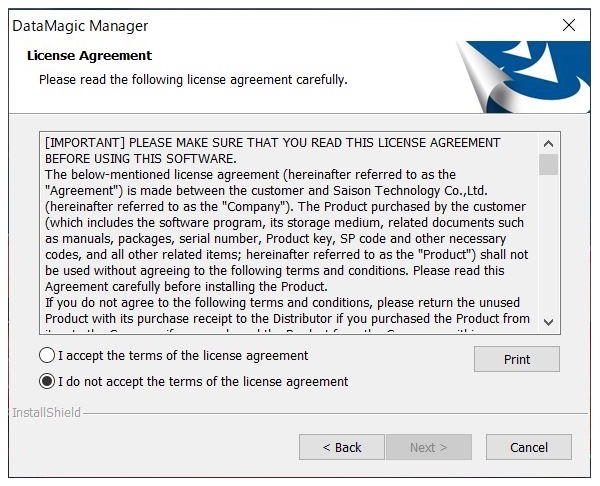
Figure 3.4 License Agreement screen
(4) Select the installation type
If you are installing DataMagic Manager for the first time, select New installation. If you are overwriting an existing instance of DataMagic Manager, select Update installation.
When you are finished selecting the installation type, click the Next button.
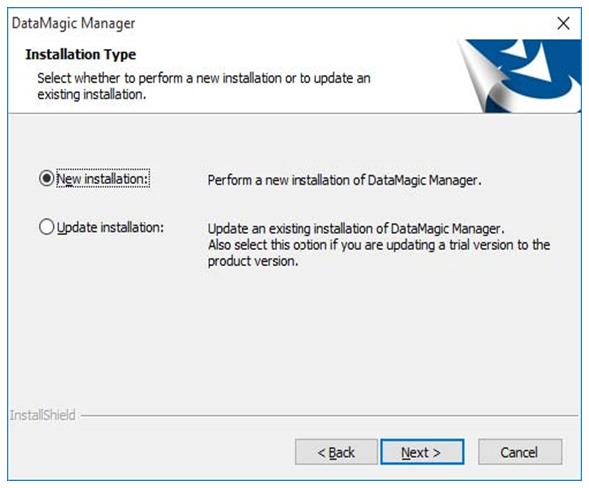
Figure 3.5 Installation Type screen
(5) Specify the installation folder
To change the installation folder, click the Browse button.
Specify the installation folder, and then click the Next button.
In update installation, specify an existing folder as the installation folder.
- Installation folder
-
Specify the folder to which to copy the DataMagic Manager configuration file.
The default value is %SystemDrive%\HULFT Family\huldm.
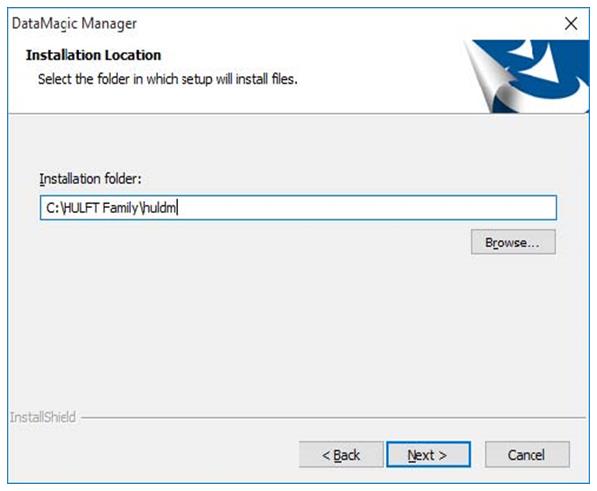
Figure 3.6 Installation Location screen
(6) Select the date format
Select the date format to be used in DataMagic Manager.
-
YYYY/MM/DD Example: 1970/01/30
-
MM/DD/YYYY Example: 01/30/1970
-
DD/MM/YYYY Example: 30/01/1970
After selecting the date format, click the Next button.
-
The Date Format screen appears only during a new installation.
-
Date format specified here, you can be changed after installation. When you change the date format after installation, the data format can be changed in the Date Format field of the DataMagic Manager Operation settings screen displayed by clicking the DataMagic Manager Operation settings button in the screen for managing hosts.
-
The date format set in DataMagic Manager is displayed in the screens of DataMagic Manager. The date format set in DataMagic Server does not affect the screens of DataMagic Manager.
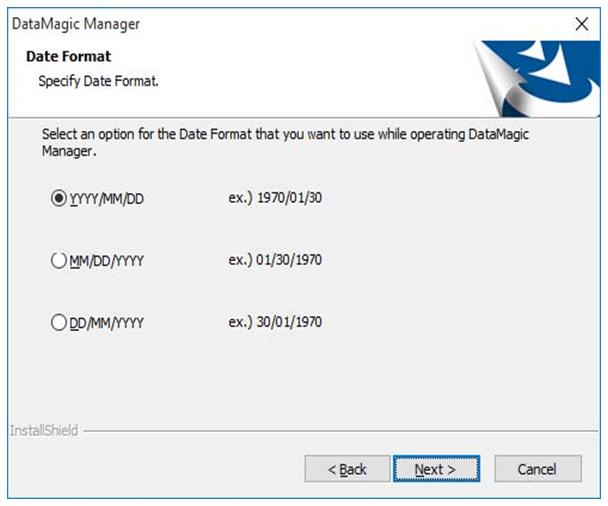
Figure 3.7 Date format screen
(7) Setting the program name
Set the name under which the program will be registered. This name will appear in the Start menu.
After you enter the program name, click the Next button.
The default is DataMagic Manager Ver.3.
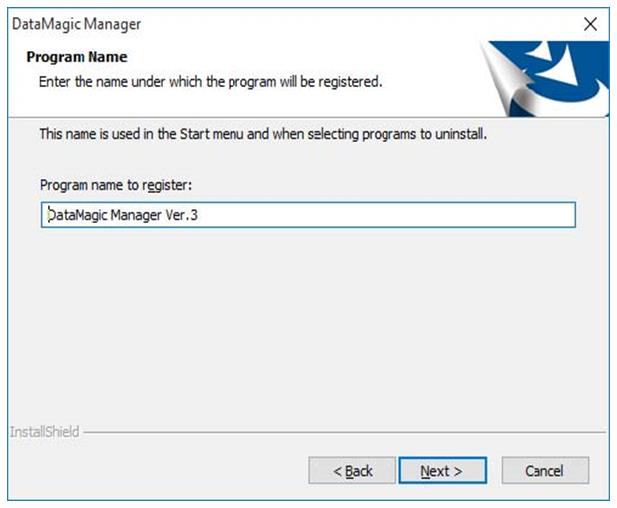
Figure 3.8 Program Name screen
An error occurs if you try to set a program name that has already been used. You cannot include full-width characters in the program name. The name must consist of half-width alphanumeric characters.
(8) Confirm the installation
Confirm the installation and click the Next button. The installation begins.

Figure 3.9 Confirm installation screen
(9) Installation processing
The installation of DataMagic Manager continues while the following screen is displayed.
Before this screen is displayed, the system and environment are checked and updated.
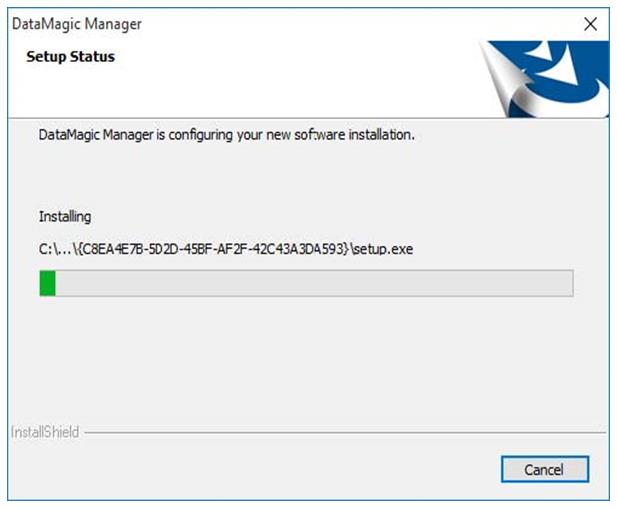
Figure 3.10 Setup Status screen
(10) Exit the setup program
When you click the Finish button, the setup program closes.
After setup is complete, DataMagic Manager is ready to start.
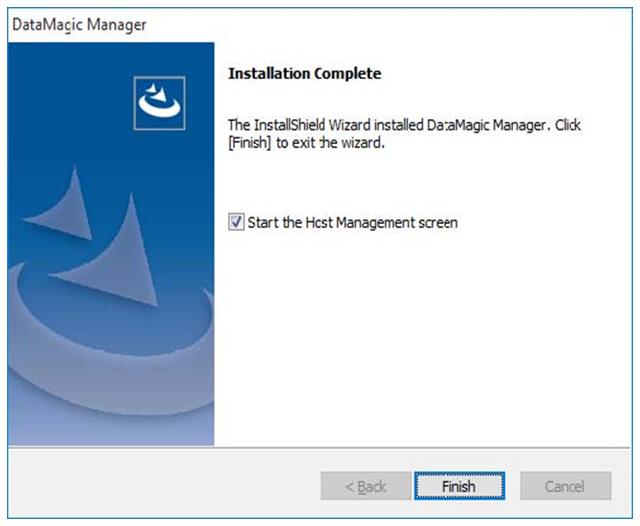
Figure 3.11 Installation Complete screen
The installation of DataMagic Manager is now complete.